ONE YEAR LATER
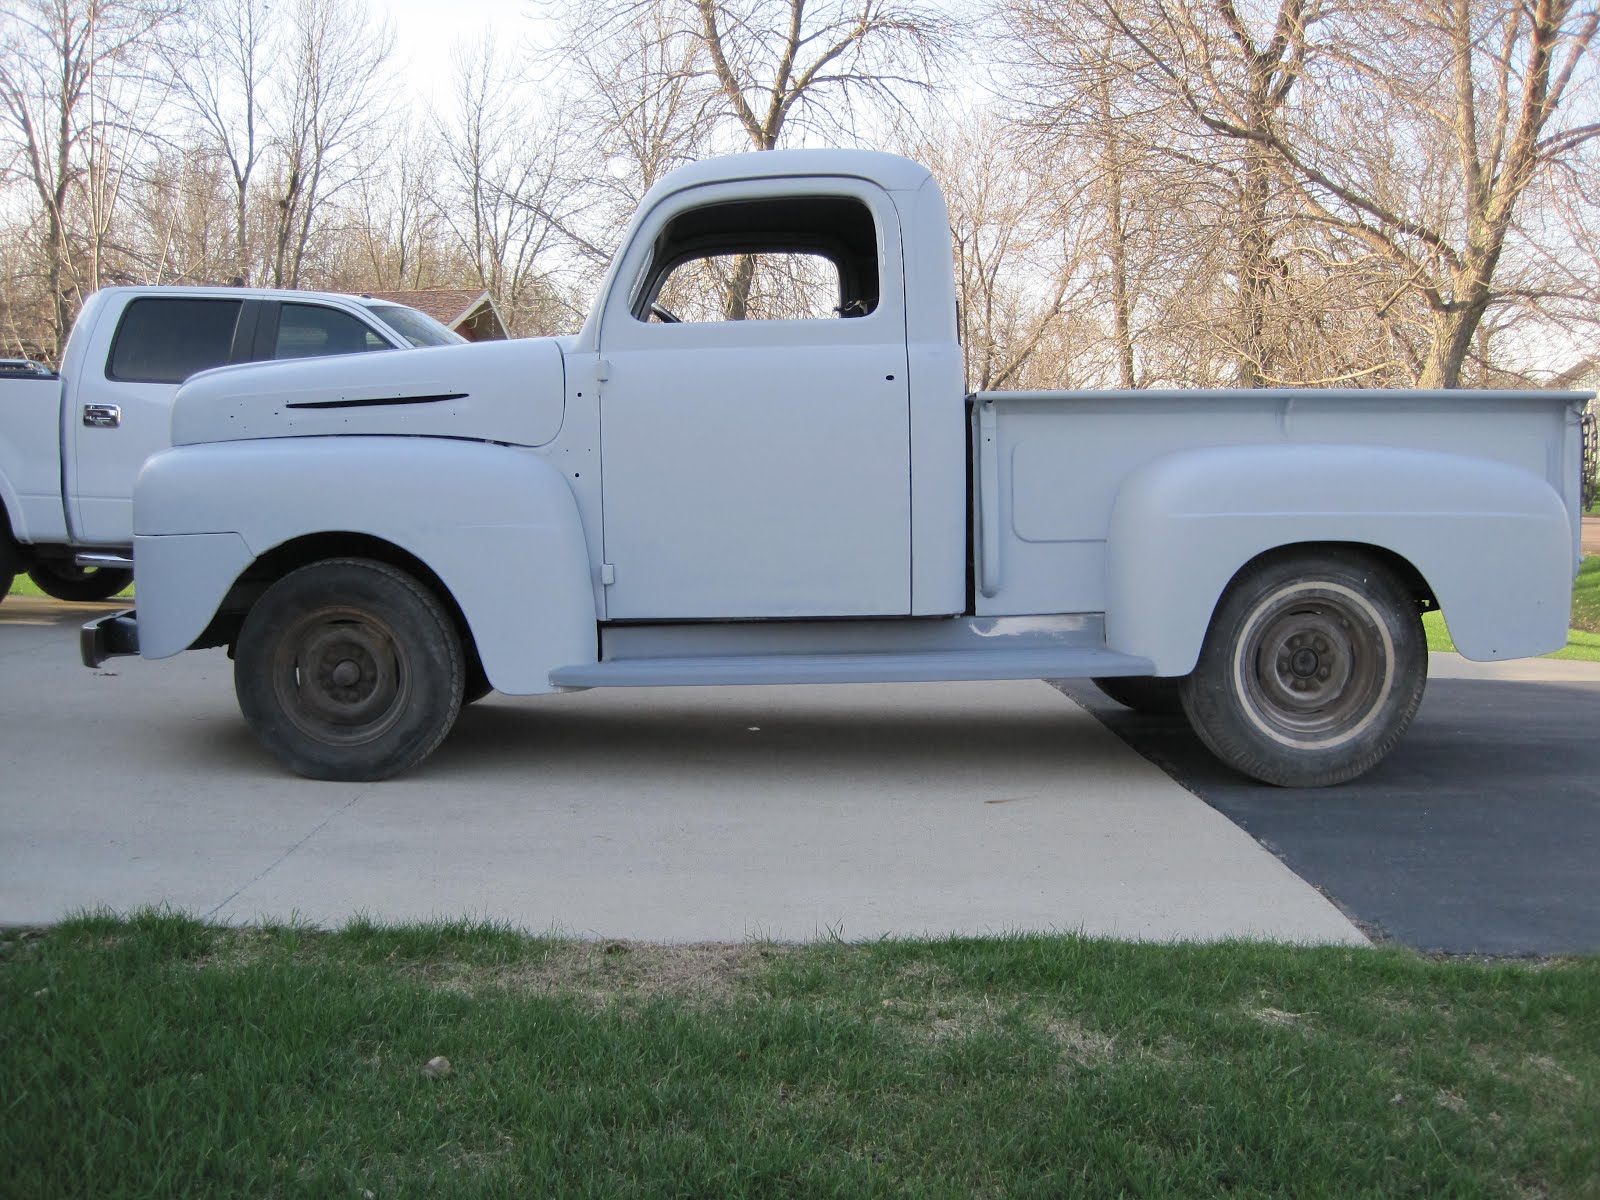
It has been a little over a year since my last post and there has been more progress on the truck. In my last post I mentioned I needed to rewire the truck and install wipers and finish the interior.
The wiring was a challenge but nothing that I couldn't handle. I had purchased the wire a couple of years ago from Sacramento Vintage Ford so I didn't have to go hunting for wire. I had purchased wire for a 6 volt rebuild but as it turned out I have a 12v system which does not require the heavier gauge wire the 6v does. It is OK to go up but not down in wire size so my wire was fine just a little overkill. I had a wiring diagram for the truck which can be found in the blue operators manual or it can be purchased online. I made a few changes however. I used a fuse block to protect the circuits and it also allows me to add additional features such as electric fuel pump, radio, heater and electric wipers. I ran the wires in black split plastic looms and tried to route them as neat and orderly as possible along the frame and firewall. I also installed two rear taillights instead of one and converted the front parking lights to double as signal lights with amber bulbs. Everything works fine except some of the gauges. The amp gauge seems to be off and I have not yet hooked up the oil gauge in the instrument cluster. I am still using the aftermarket gauge for oil pressure. Temp gauge is not working and it may be because I have 6v sensors in the heads instead of 12v even though I have put a voltage reducer at the gauge which doesn''t seem to do any good. I will have to buy the 12v sensors which are somewhat expensive and try that. I am trying to stay away from aftermarket gauges in the cab. I did install an aftermarket radio under the dash instead of a in dash reproduction. It works fine but may get changed in the future. Right now it is mounted just a little to close to the shift lever and when I shift to 3rd gear I end up changing the channel on the radio which is irritating. I have a heater ordered and hope to get it installed before spring. I researched heaters and found only a few that seem to be popular in the aftermarket world. I ordered a Gobi compact heater by Zirgo from Autoplicity. I'll create another post on how that goes.
The interior work is pretty much complete except for the non working gauges i mentioned earlier. I removed the seat that I found at the wrecking yard and put it in one of my other trucks and I took that seat and recovered it with a kit from Macs Auto Parts. I did it in black to match an original configuration for the bench seat. I installed carpet on the floor but rather than buy one premade that would only cover the area under your feet I purchase automotive carpet from a local store and created my own which covers the entire cab floor. Under the carpet I put felt cab insulation to help with heat and noise. I covered the firewall with cab insulation which comes in 1/2" or 1" thicknesses. I also covered the entire interior of the cab with the same material before I put new cardboard kick panels and headliner in. It made a big difference in the sound level. I put some dynamat in each of the doors before I put the new glass in and it eliminated much of the tinny sound you get when you close the doors. I reconditioned the steering wheel using a restoration kit from Eastwood and painted it gloss black with a single stage automotive primer and paint.
I haven't done the box bed other than install a piece of 3/4" plywood and put in a heavy duty rubber bed liner which seems to work just fine. I did fabricate and install oak side rails for the box and stained them with a dark stain that looks pretty good.
The to do list includes installing the heater, getting the gauges working, possibly redoing the bed liner and fixing a rear main seal leak. I did buy a used T5 transmission from a Chevy S-10 to replace the stock 4 speed in the truck now. The double clutch thing is kind of pain plus I should get better mileage and highway speed.
I was able to get the truck registered this year with no dificulty. In fact all I had to do was take my title to the DMV and they gave me registration and plates without any sort of inspection. Real easy in North Dakota. I put on a little over 800 miles this summer with very little difficulty. I did have a problem on one trip where I couldn't keep the truck running and had no power. I thought it was a fuel problem but it turned out that the timing was way off. I readjusted that and it runs great. Can't wait till spring.